by Clint
It’s been a while - both since I’ve written a post and ridden a fully loaded bicycle. I had been dreaming about this route for the past few years. Every time I would drive through the I-70 corridor in Colorado, I’d see this bike path that weaves in and out under the highway and next to the water. Very scenic despite being next to the interstate. I always wondered how far it went. Last year we drove through Independence Pass when it opened. The entire time I had wished I had a bike with me. Exploring by bike is one of my favorite ways to see a place, old or new. Everything looks so different than when you’re on foot or in the car.
Fast forward to early summer this year. My buddy Rico was starting to get curious about what a bike tour is like. So as any good friend would do, I tricked him into going on a 200ish mile tour with 9k+ feet of climbing on loaded bikes, some of which was at altitude. Just kidding. I didn’t think the riding was anything he couldn’t handle. He regularly commutes to work by bike, 15 miles each way. We broke up the ride into chunks. 40 to 50 miles per day over 5 days with a rest day in there. Very digestible. Honestly I was hoping the tour would be 100% type 1 fun and I would say most of it was. A little type 2 fun definitely snuck its way in there. More on that later.
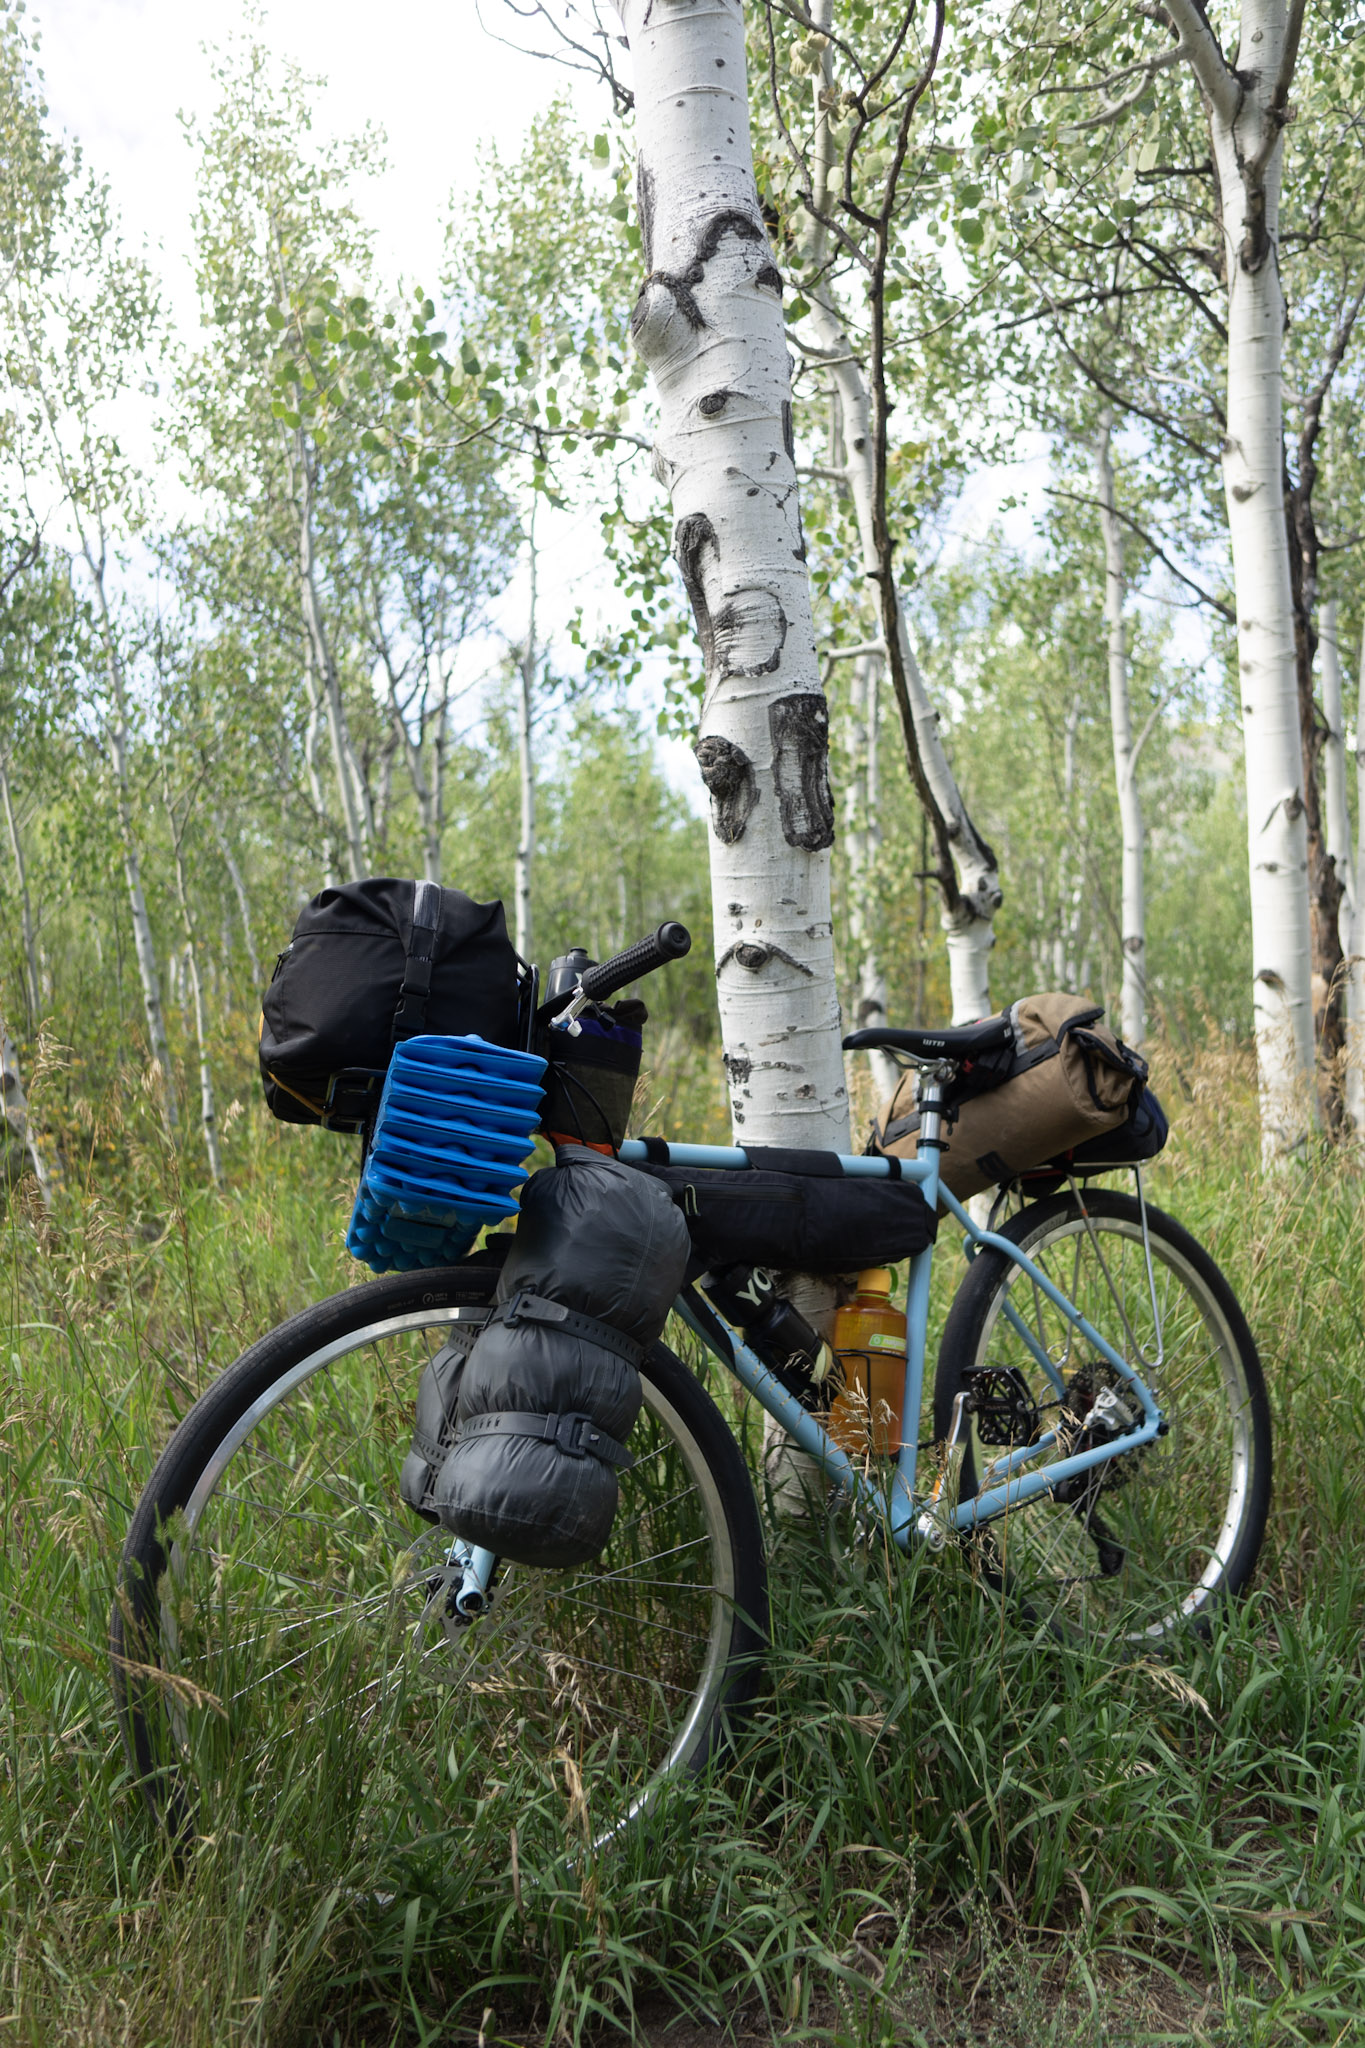
Our route incorporates both of these super scenic bikeways, up and down mountains and over passes. I thought, what better bike to do this on than a Pass Hunter! It’s a versatile frame and packs up well with modern touring gear. I'll delve into the equipment in Pt. 2 of Independence Pass Hunting - coming soon!
Without boring you any further with planning details - here’s the tour broken up day by day.
Day 1 - Carbondale to Aspen to Lincoln Gulch
We started the tour in Carbondale. We were able to camp out nearby so we could get a fresh start first thing in the morning. Rico had the connections for a good safe spot to park for the duration of our tour.
Carbondale is cute! Folks seem very happy there. The mountains are beautiful and the Rio Grande bike trail passes through the middle of town, completely isolated from cars. We topped off our coffee thermoses at Bonfire coffee and headed up the Rio Grande trail.
The cycling infrastructure in Colorado continues to blow my mind. The trail is gorgeous and very well maintained. It passes through some very scenic farm country between mountains.
The consistent elevation gain of the path was impressive. You can barely tell you’re biking uphill. It gets a little bumpier towards Aspen, but only more scenic. The trail takes a ridgeline that overlooks the valley. Shortly before Aspen we took a stop for Rico to throw a line in the water. He pulled a trout out probably within 5 minutes. I don’t know how he does it.
At this point, we rolled through Aspen. Took a quick stop at a grocery store for some last minute supplies and rolled by the art museum. Rico is a structural engineer and his firm did the entryway of this building. Pretty neat.
On the way out of town, we got to ride through some actual aspens. For anyone who doesn’t know the fun fact about aspens - an entire forest can be a single organism, similar to a mushroom or other rhizomes.
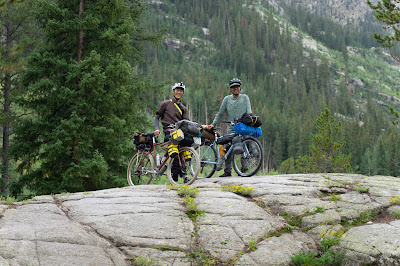
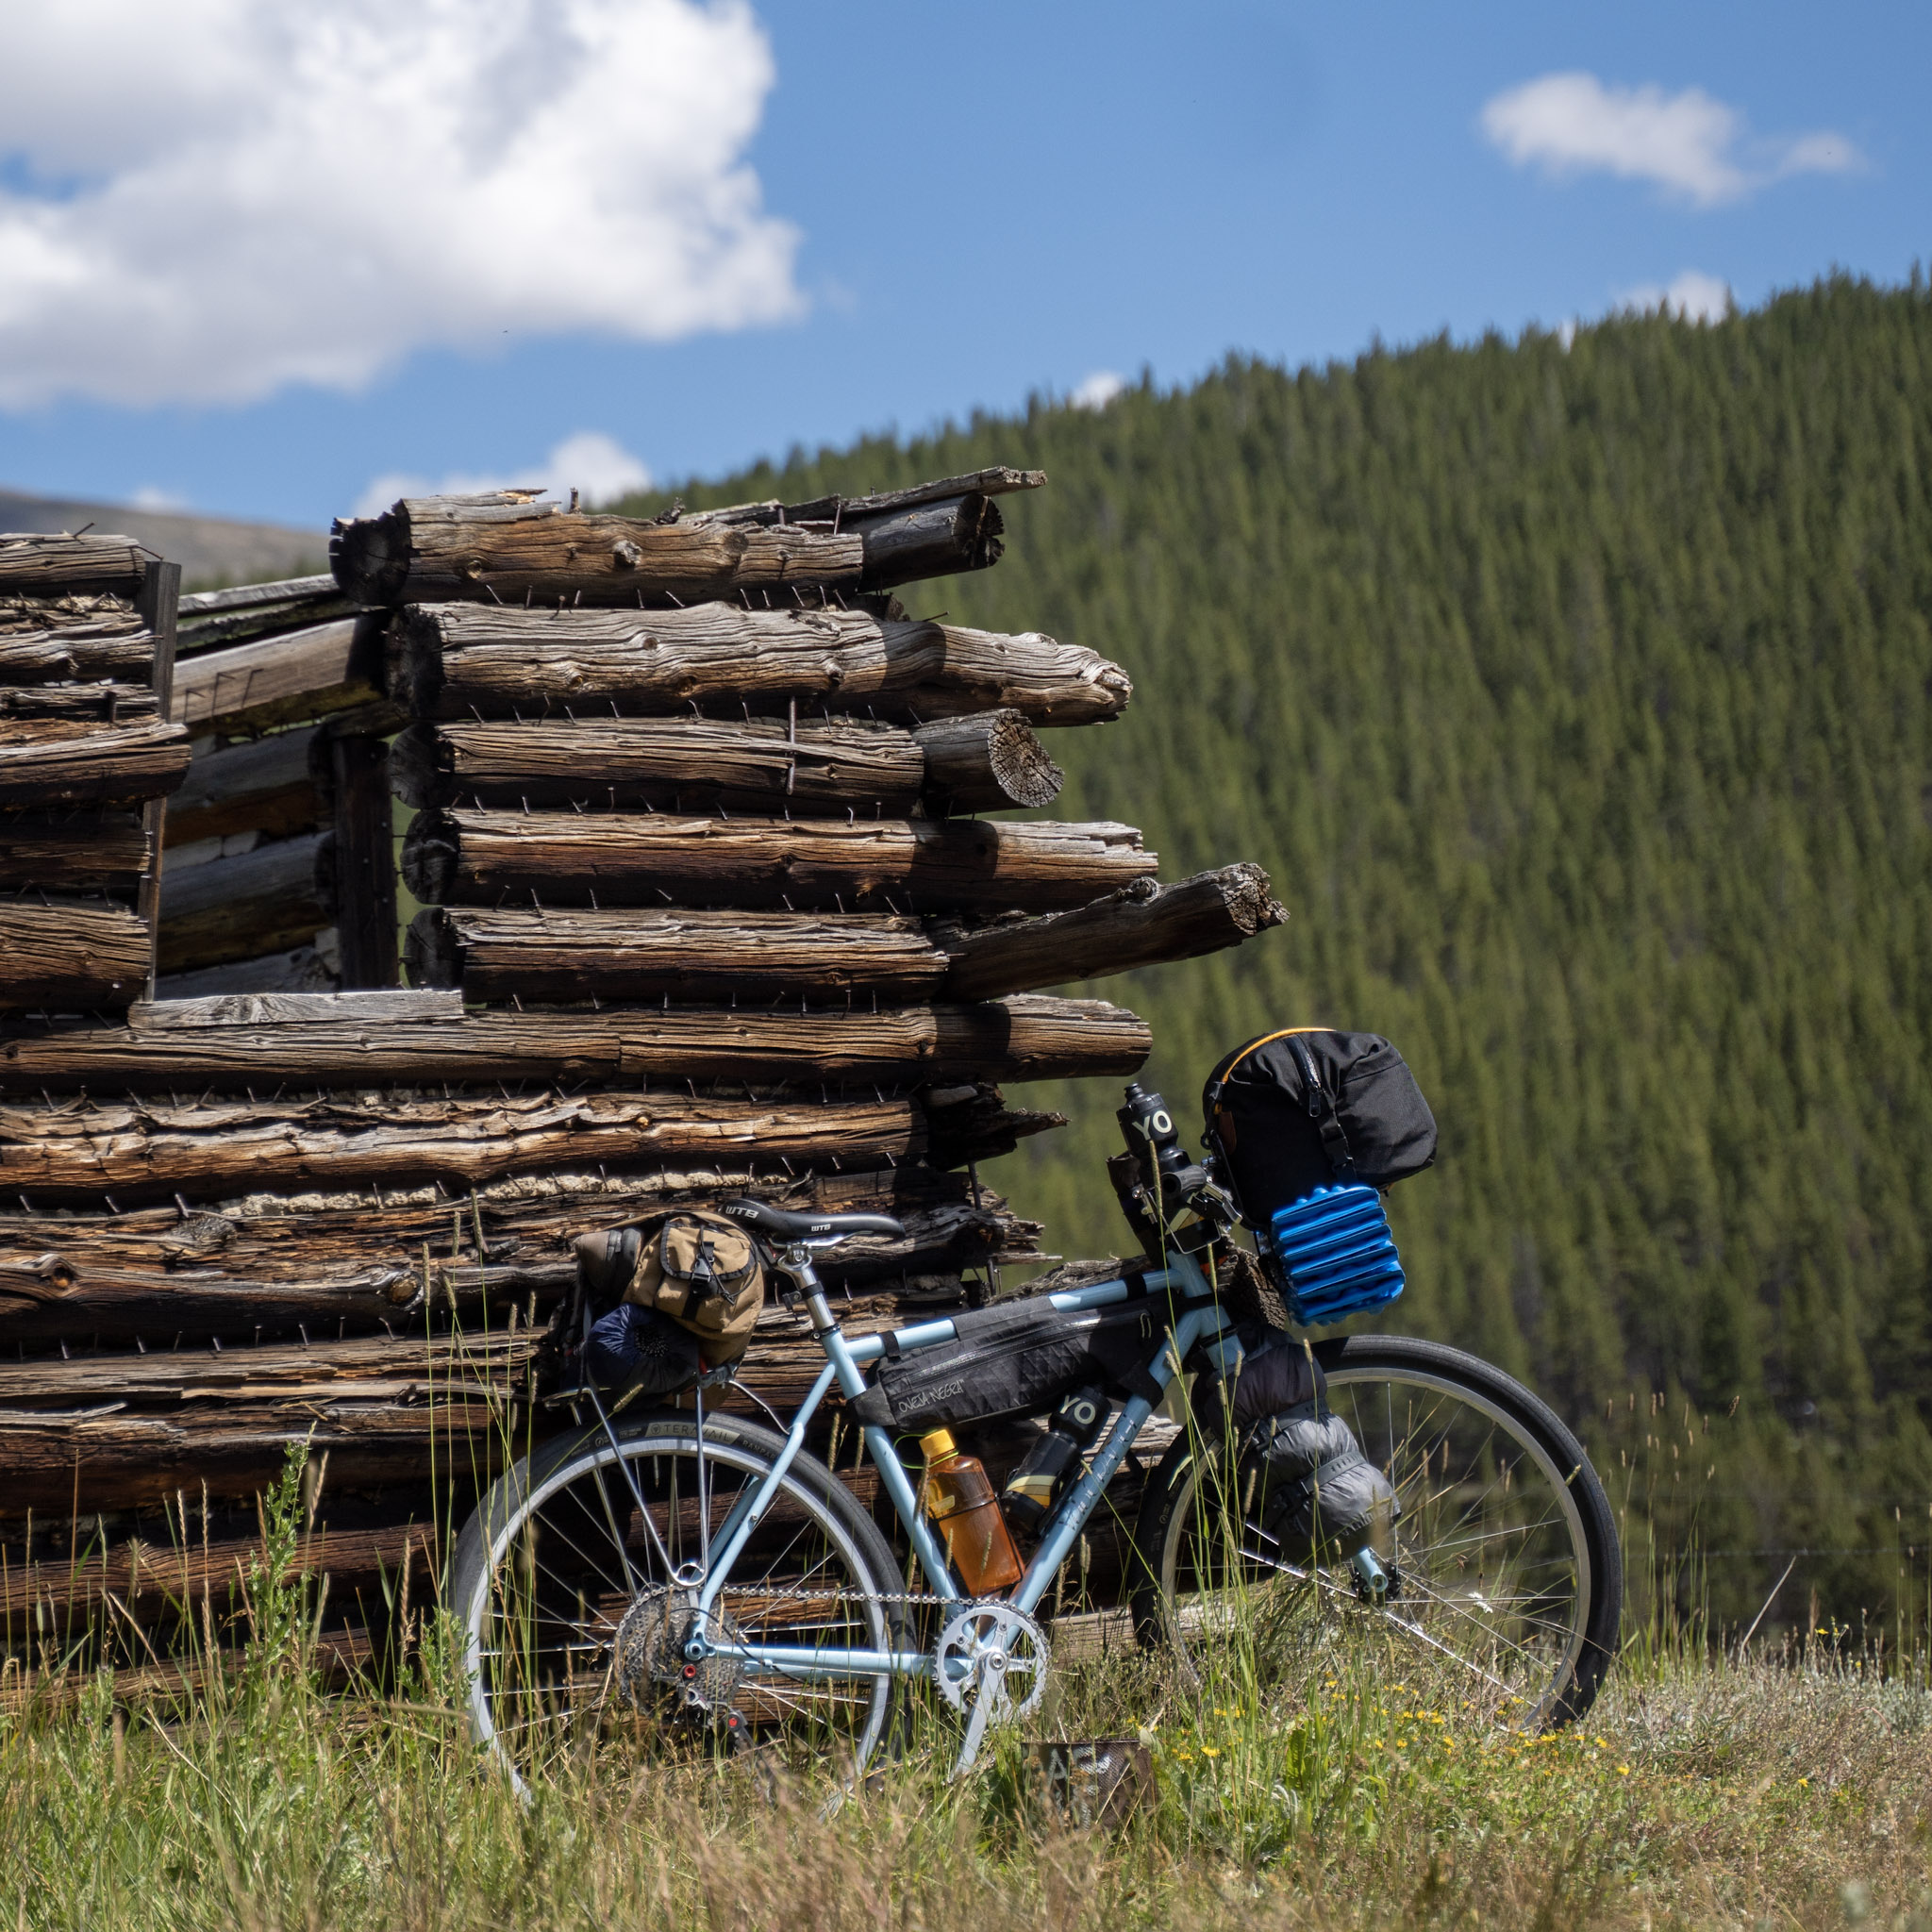
The Rio Grande trail ends at the edge of Aspen. At this point, we transitioned onto Independence Pass. Let the pass hunting begin! The initial climb was pretty tough. We broke it up into chunks and stopped for a photoshoot at golden hour.
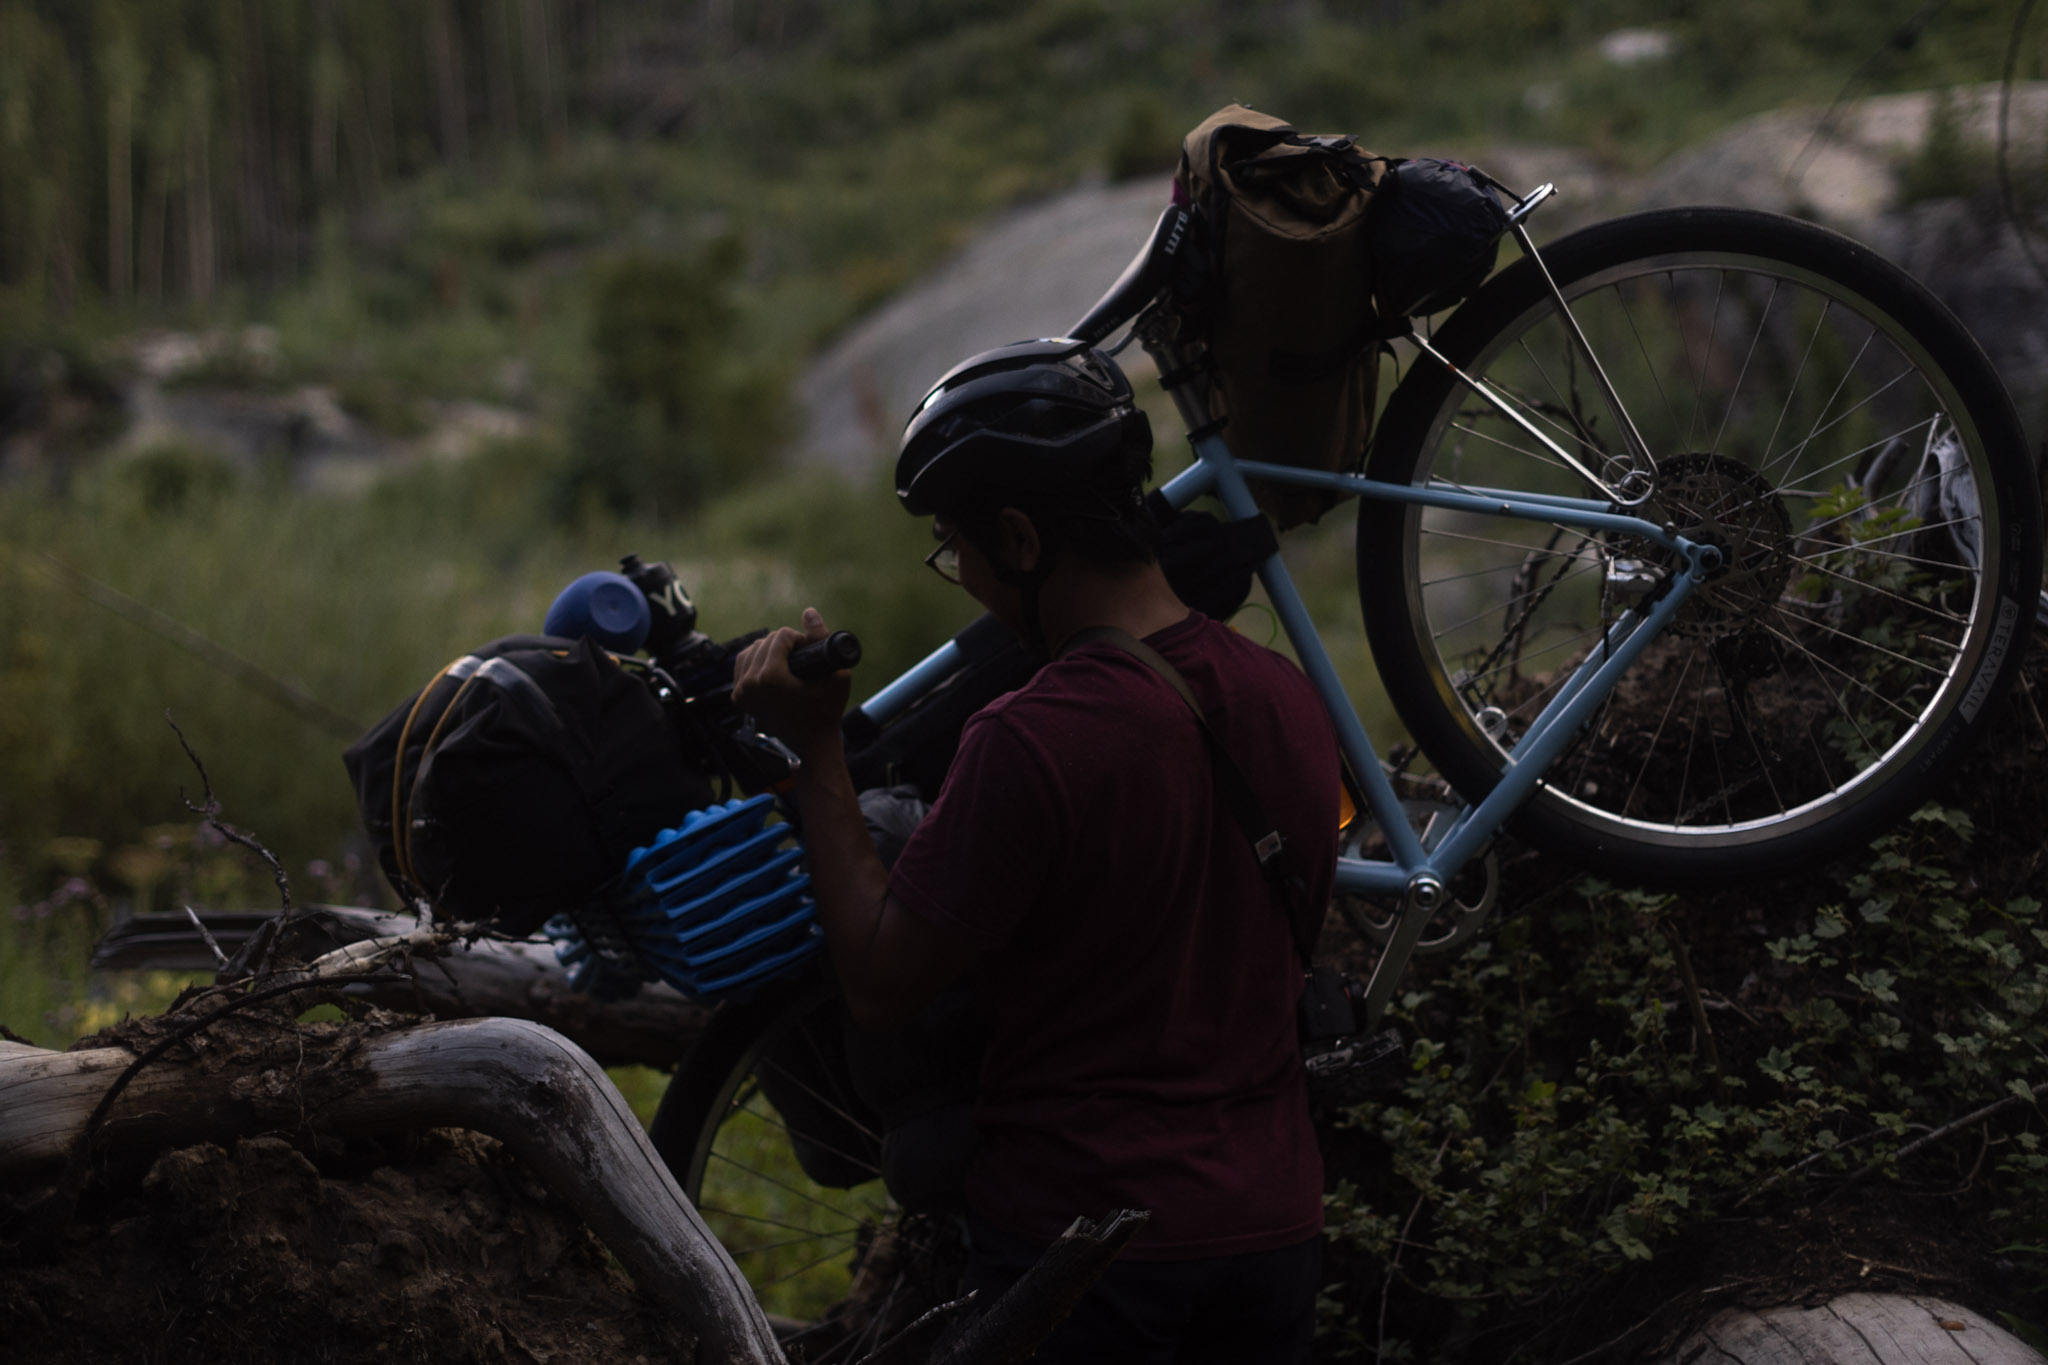
The end of the first day ended in some unintended hike-a-bike. Silly Google Maps took us on a hiking trail that used to exist with multiple stream crossings. Noting this for next time - take the access road to the campground.
Lincoln gulch is my favorite (and only) campground I’ve stayed at on the pass. We set up camp and got to work on some camp meals! One of my favorite parts of touring. End of day 1.
Day 2 - Rest day
We planned our 2nd day to be a rest day. Again - trying to have some type 1 fun. I think it was a good idea. We both wanted to adjust to altitude (almost at 10k feet at this point), hang out on the pass, do some fishing, and take pictures of cool bugs. Honestly the campground is so gorgeous, I could have absolutely nothing to do and still enjoy my time. We pulled out Rico’s vintage Olympus lens to get some vibey lifestyle shots at the campsite for y’all. Rico’s the photography buff here. I’m gonna have to direct all photography questions to him.
Also worth mentioning, we met Captain Jack at the campground. Coolest 62 year old from Florida we’ve ever met. Captain Jack and Rico had a little fishing contest. I’ll brag for Rico - he pulled out 8 rainbow trout, 1 brown trout, and 1 brook trout on our rest day.
A lot of “I bet you can’t pull a fish out of there” followed by Rico pulling a fish out of there.
End of rest day.
Day 3 - Summit day and Leadville
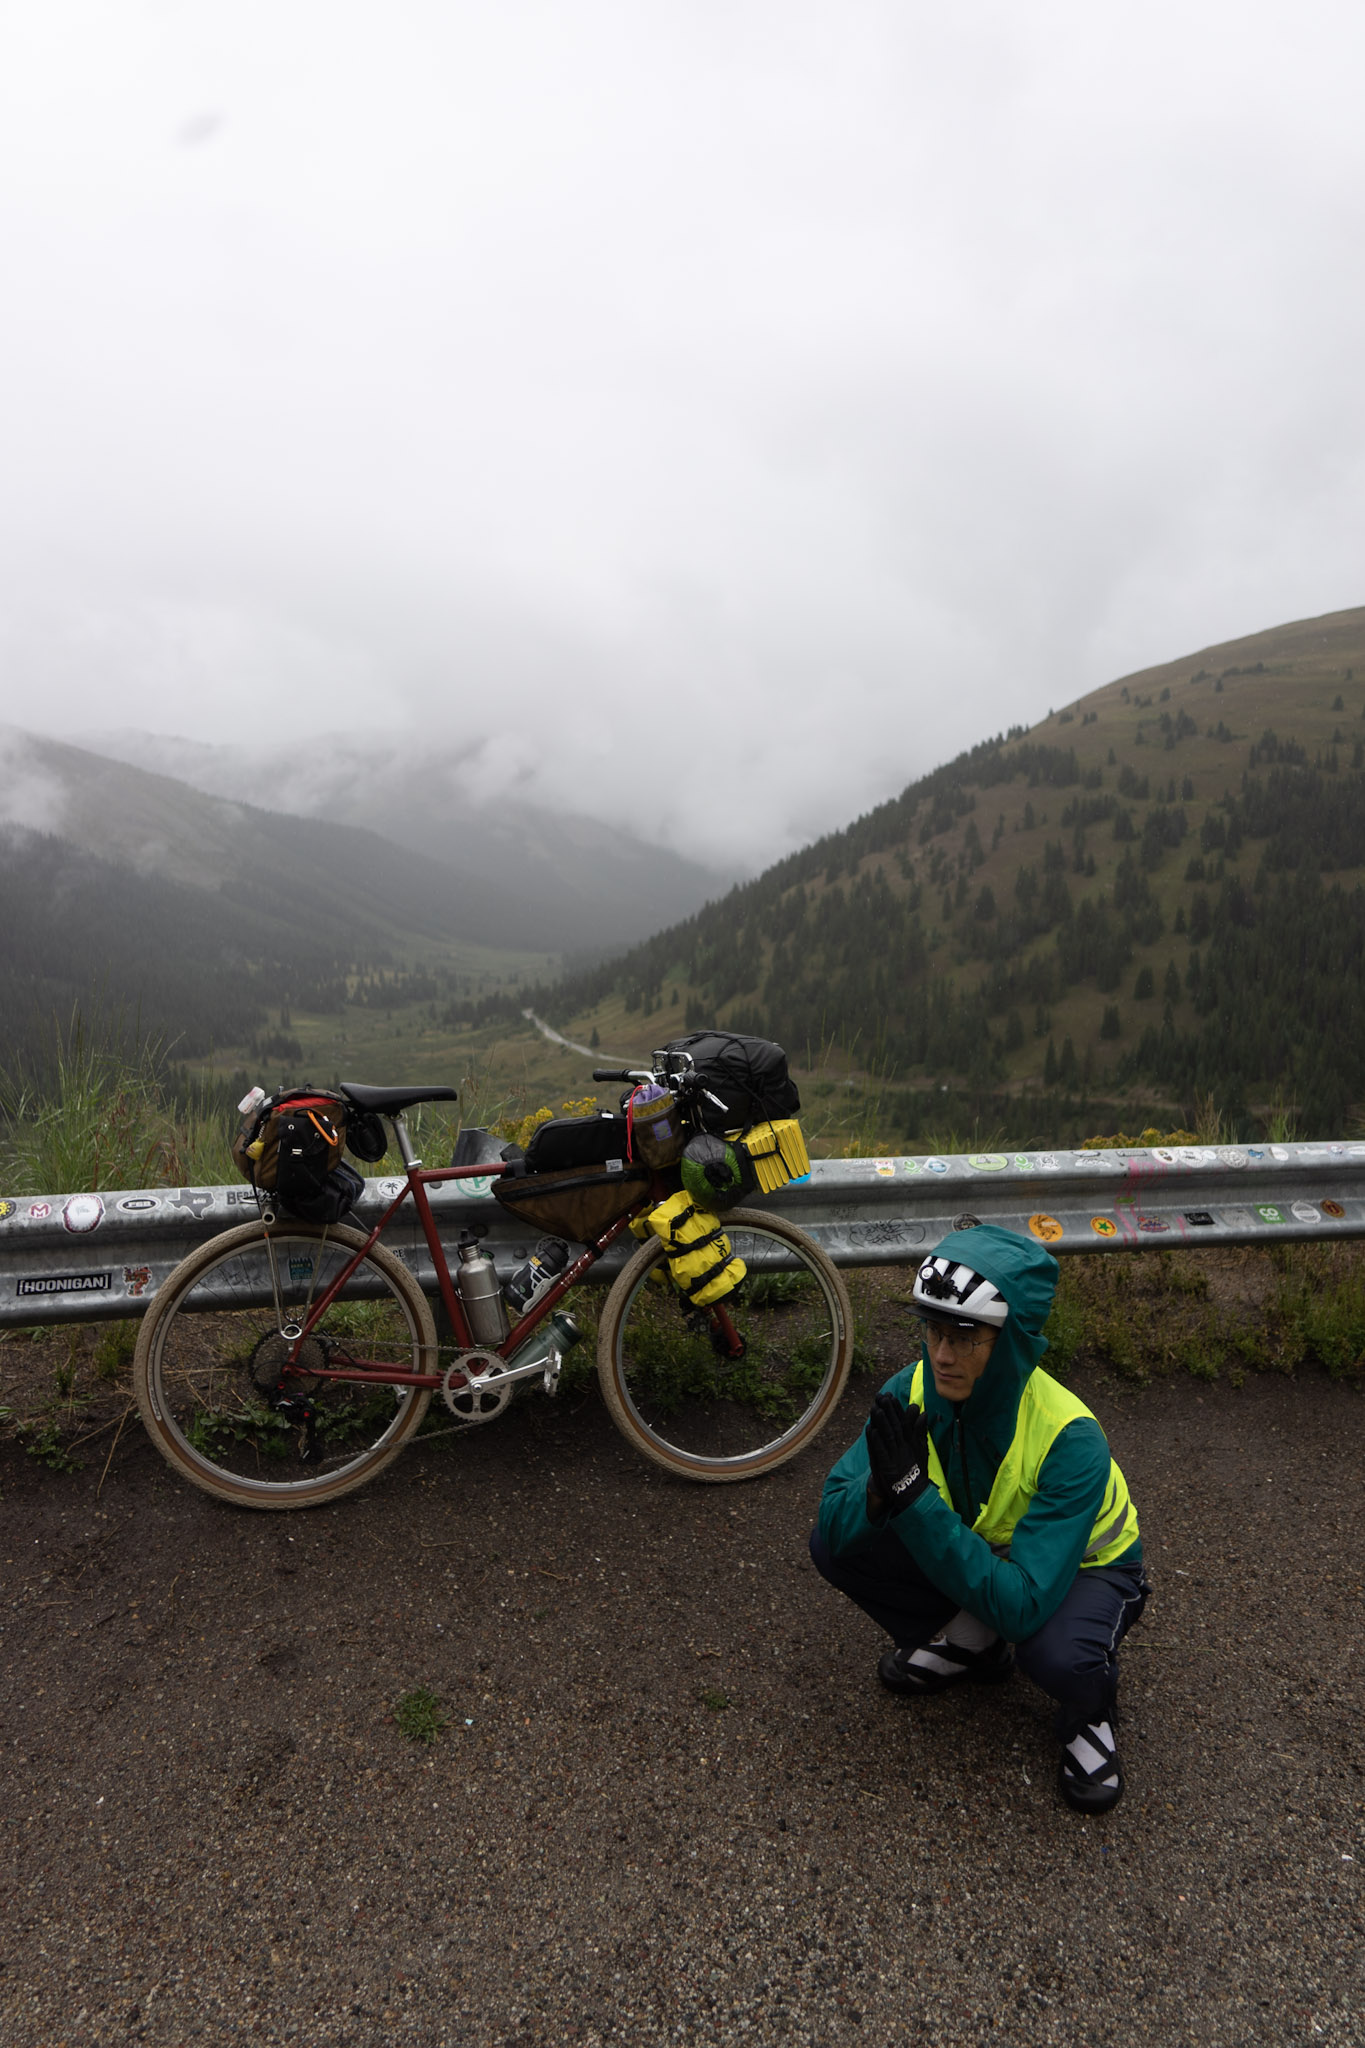
The main reason for the rest day was to be fresh, rested, and acclimated for summit day. Time to bike up to 12k feet! I think, for the most part, it worked; however, the weather had other plans for us. To sum it up, it rained for a good three quarters of the day. Made for a lot of ups and downs, both emotionally and physically.
Clouds broke as we summited! We met a dude, Nate, in his converted ambulance at the top and he offered us warmth, a coffee, and a photo of the two of us. Very grateful for Nate. He’s done his fair share of thru hiking and bike touring as well. It was nice to share a quiet moment with a cool guy before bombing down the opposite side of the continental divide!
Silly grins and breathtaking views down the backside of the mountain. So glad the weather cleared up enough for this portion of the ride.
The end of our day 3 ended up being the most challenging for me. Rain picked back up just as we were entering busy roads. I didn’t quite remember the speed limit being so high and the shoulder so small on the road south of Leadville. No photos here. Just taking it one piece at a time, pulling off for larger vehicles to pass. I’ll probably skip this part of the ride next time.
We made it into town just in time to check into our hostel, walk downtown, and eat an uncomfortable amount of carnitas.
Pass out at the hostel and End of Summit Day.
Day 4 - Leadville to Eagle
We took our time after day 3, both to recover and enjoy Leadville. I can’t wait to go back to Leadville! The outdoors scene in town is rad. So many folks are there for the mountains and they’re intense! Can’t believe they do what they do at 10k feet.
A couple of notable spots to stop by in Leadville. Definitely check out ZeroDay for Coffee. Hannah made us some delicious drinks and we chatted with Tony for a while about local climbing and biking. Looking forward to hanging out with these folks again soon.
As for a bike shop, I highly recommend Bici Cas. Talk to Rafa. He’s so cool. I was drawn in right away by his weird custom single speed mountain bike hanging in the window. He’s super knowledgeable about routes in the area and has a huge stock of bikepacking gear all crammed in a tiny, but well organized shop.
Afternoon rolled around and it was time to start riding again. After drying out the remainder of our gear from the previous day, we started making our way towards I-70 via highway 24. We were more than a little tired from the day before and very excited for a mostly downhill day. We made lots of stops to check out the new scenery.
The few hills on the route definitely kicked our butts and threats of rain again in the afternoon definitely spooked us a little, but check out this cool bridge! I’d like to come back to do the ride under the bridge.
We made it to Minturn. The bulk of the ride was over at this point. Basically no more hills to climb. “Mostly flat” according to the metric Google Maps uses for bikes. We got burritos at a shop Rafa recommended. Great burritos with cool skateshop vibes.
After our first dinner was a turning point. Entirely type 1 fun from here. We were back down at a more reasonable elevation. It’s hard to describe, but despite being completely exhausted from the day before, we were feeling pretty buff. Neither of us were getting out of breath on the hills. So much oxygen (relatively)! Highly recommend this part of the ride. Not quite as scenic, but the riding is super fun. We alternated between bike paths and highway 6 until staying in Eagle for the night.
We stopped at the City Market to replenish calories and commit some culinary sins. There were corndogs, grocery store sushi, several pounds of mac & cheese involved. I won’t go into detail. After that, we headed back to the hotel and turned in for the night. I enjoy staying in hotels as well as tent camping. I’ve got nothing to prove :)
End of day 4.
Day 5 - Last day!
The last day flew by. The dreamy I-70 corridor bike path day. This part of the highway is pretty in a car, but you get to see so much more on a bike. This was our easiest day mileage and elevation-wise, so we took it easy and made lots of stops.
Rico wrapped up the trip by catching his biggest dang brown trout to date! I’m especially bad at taking photos of people holding fish so please just enjoy this picture of the scenery.
We also stopped by this spooky burnt down forest by bike path.
Also now that we were back down to about 6k feet of elevation, there was plenty of *air* to be had hehe. Thanks Rico for the photo.
The canyon was, by far, the coolest part of the day. Easy riding, great views, completely isolated from cars. We biked by Hanging Lake. I didn’t even know such a feature was there. Definitely going back to check this out. I think the coolest part about the bike path is how many folks were utilizing it! It makes me so happy to see so many different people out using the bike infrastructure. Folks on road bikes, rented e-bikes, old dudes on 90s mtbs headed toward the breweries. Some folks were even packrafting. Ride up to float down.
We passed through Glenwood Springs, stopped for ice cream and jumped back on the Rio Grande trail to head back to Carbondale.
One last stop before completing the tour. While he enjoys fancier foods sometimes, Rico is a huge fan of McDonald’s. Guilty pleasure food from childhood. The last goal of our tour was to stop by a McDonald’s. Rico kind of got into the whole commuting, touring, x-biking, non-competitive side of cycling thing after a short 1 mile ride to McDonald’s. So you can say this was our longest ride to McDonald’s to date.
Conclusion
We made it back to the car with ease. Both of us were satisfied, and excited to have completed the tour. Would I do it again and/or recommend it to a friend? Probably not, but it was definitely worth it. Mileage, elevation gains, and weather I would happily experience again. I wasn’t crazy about some of the Rt 24 interactions with cars. That was, mentally, the hardest part for me. That being said, I am very excited to explore more of Independence Pass and the surrounding side roads. I can absolutely recommend that part of the ride to anyone. The I-70 corridor cycleways are also amazing if you don’t want to deal with all of those elevation gains.
It was great to meet so many cool people and see so many folks on the trails having fun and riding bikes.
I’ll be back with a part 2 talking about the gear on the trip and more ride report posts if you’ve enjoyed this one.
Ride safe!
Update: Clint put together a Google Maps route, which can be
found here.


.jpg)


.jpg)


.jpg)
.jpg)


